


How to properly adjust your hiking backpack
An improperly adjusted hiking backpack can turn your tour into a torment. With our step-by-step guide, your backpack will become the perfect companion for every adventure.
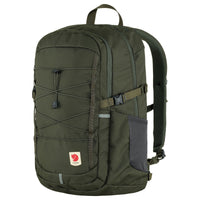
📏 Find the right backpack size
For a hiking tour, you first need a backpack that is not only designed in terms of volume for the type and duration of your tour, but above all matches your back length.
Using your C7 vertebra and your pelvis, you can measure the appropriate back length for your hiking backpack.
Hiking backpacks for women:
Women often have a different body structure than men: e.g., a shorter back length and a wider pelvis. Backpacks specifically designed for women women's backpacks therefore feature special characteristics:
- Shorter back panel for optimal fit
- Angled hip fins
- Tapered straps for better fit
- Adjusted shoulder straps
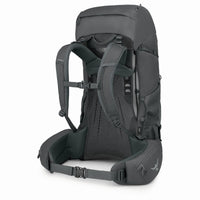
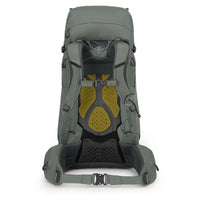
⚙️ Adjusting your hiking backpack - in 5 steps
A correctly adjusted backpack distributes the weight optimally on your body and guarantees high wearing comfort. Follow these steps:

Loosen all straps and belts
Put on the fully packed backpack and first loosen all straps and belts:
- Hip belt and chest strap
- Shoulder straps
- Load adjustment straps on the shoulders
- Optional: Stabilization straps on the hips

Adjust the hip belt
The hip belt is the most important part – it carries 70-80% of the weight:
- Position the hip fins at the height of the pelvic bones (not the waist!)
- Fasten the belt and tighten it snugly without cutting in

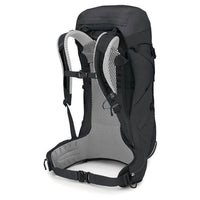
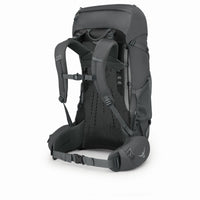
Adjust shoulder straps
After the hip belt, it’s time for the shoulder straps:
- Tighten the straps so they rest on top of the shoulders
- The strap attachment should be between the shoulder blades
- Only 20-30% of the weight should rest on the shoulders

Close the chest strap
The chest strap stabilizes and prevents slipping:
- Tighten lightly for a secure fit
- Do not restrict breathing
- Adjust height according to personal preference

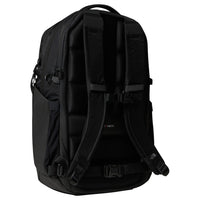
Tighten stabilization and load adjustment straps
Finally, the fine adjustment:
- Adjust the positioning straps on the shoulders
- Stabilizing straps at the hips (if available)
- Backpack sits closer to the body
- Prevents wobbling on uneven terrain
Tips & Tricks for Pain-Free Hiking
Even with a perfectly adjusted backpack, discomfort can occur on longer tours. Here are our best prevention tips:
Take only what is necessary. The weight should be a maximum of 10% (day hike) or 15% (multi-day tour) of your body weight. Tip: Refill water on the way instead of carrying heavy amounts!
Move your shoulders slightly up and down every few minutes. Shift your weight minimally to the left and right. Short stretching and extending movements while walking keep your body relaxed.
Just a few minutes of daily training increase endurance and strength. Planks for a stable posture, arm circles and stretching exercises to prevent tension.
Place heavy items close to your back and at shoulder height. Light items go at the bottom and outside. This keeps the center of gravity optimal.
Take a short break every 60-90 minutes. Set your backpack down, rotate your shoulders and take a deep breath. Your back will thank you!